How To Look Good In The Photo Booth
Taking great photos is a skill that many people strive to achieve. With the rise of digital photography, editing and manipulation have become commonplace in achieving desired results. This article will provide an overview of how to make your photos look good when using a Photo Booth.
Checklist for How to Look Good in The Photo Booth
- Setting Up the Photo Booth
- Choosing The Right Lighting
- Adjust The Camera Settings
- Avoid a Forced Smile
- Embrace Your Best Angle, There Are No Bad Sides
- Dress To Impress
- Enhance Your Photos
Setting Up The Photo Booth
Creating beautiful photos with a photo booth is not as hard as it may seem. There are a few simple steps to take that will help you get the best results from your photo session. With the right equipment, setup and knowledge of how to use the camera, anyone can capture stunning photographs in their home or business setting.
The first step when setting up a photo booth is selecting a suitable location for the shoot. If you’re hiring a photo booth rental company, make sure the crew that delivers it sets up in the right location. It should be well-lit without direct sunlight which could cause harsh light effects on any subject’s features. Consider using several soft boxes or other artificial lighting sources if natural light isn’t sufficient enough. Additionally, choose an area that has plenty of room for both yourself and your subjects so everyone feels comfortable during the session.

Next, it’s important to have all necessary equipment ready before beginning the photoshoot, such as lenses, flashes and tripods, depending on what type of photography you plan to do. Ensure everything is functioning properly and set up accordingly; this includes cleaning and preparing cameras prior to shooting for optimum image quality. This will require some basic understanding of how digital cameras work but there are many tutorials available online that offer detailed instructions for various models and brands. Once these preparations are complete and all equipment is checked off the list, photographers can begin capturing special moments with confidence that they’ll look good in the finished shots.
Choosing The Right Lighting
With the right setup complete, it is now time to consider choosing the best lighting for a successful photo booth session. Lighting can be one of the most important elements in taking great photos with a photo booth. The key to success when selecting the correct lighting is to use even illumination across the entire scene. This means that all parts of the image should have similar brightness values and no shadows or dark spots should appear.

Achieving this balance may require more than just a single light source as multiple lights at different angles can help fill in any unwanted shadows. If there are windows within your space, these could also be used to add natural daylight into your images which will result in softer tones and richer colors during post-processing. It’s important that you adjust both your camera settings and flash output before attempting to take any shots so they don’t get overexposed or washed out by too much light entering the frame.
When using artificial lighting, LED panels offer a good option due their adjustable color temperature and high energy efficiency without generating too much heat. Experimenting with different types of lighting set ups such as low or side lighting will allow you experiment with various moods while giving an individual look to each shot taken by your photo booth.

Adjusting Camera Settings
When it comes to taking good photos, adjusting the camera settings is essential. Capturing stunning shots does not happen by accident – knowing how to adjust specific elements of your camera can help you make pictures that look amazing. A great analogy for this process is making a cake: just as a baker adjusts the ingredients and oven temperature when baking a cake, photographers should also consider the ‘ingredients’ in their cameras before snapping away.
First off, learn about lighting: examine where shadows fall on your subject and assess the natural light available in order to adjust brightness levels accordingly. If you have access to additional lighting equipment such as softboxes or reflectors, use them to create an even more balanced shot. Secondly, understand white balance setting as well as ISO, aperture, shutter speed and so forth; these will all affect how your photo looks at its most basic level. Finally, take some test shots with different configurations of each element; experiment and see which ones yield results closest to what you are looking for.
Taking control over the camera’s settings makes all the difference between mediocre photos and great ones. Experimentation is key – never be afraid to play around until you achieve the desired effect!
Don’t Force Your Smile
It’s important to keep your smile natural and not forced. If you’re smiling too hard, you’ll end up looking like you need to use the restroom. Instead, practice your smile beforehand and try to replicate the one you make when you’re genuinely happy. If your cheeks start to hurt, take a break, and remember that less is more.

Embrace Your Best Angle – You Don’t Have a Bad Side, Only Your Ex Does
Despite what your ex might say, you don’t have a bad side. So, stand tall, be confident, and work your angles! Try turning at a slight angle, put one foot forward, and show off your best features. You’ll look like a pro in no time.
Dress to Impress, Like You’re Going on a Hot Date
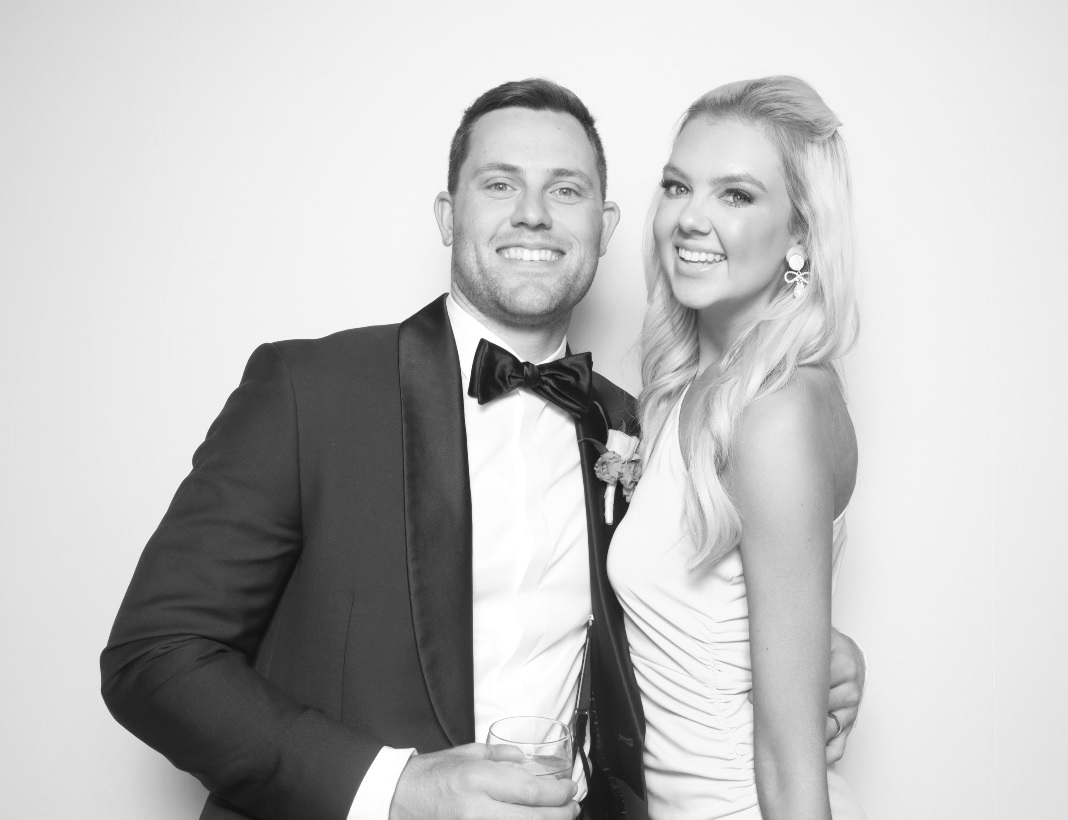
What you wear to the event can make a big difference in how you look in the photos. Dress to impress, as if you’re going on a hot date. Choose something that makes you feel confident and comfortable, and don’t be afraid to add some bold, contrasting colors. And remember, black is always slimming, especially if the photo booth is set to black and white.
Utilizing Technology To Enhance Photos
Forget spending hours in front of the mirror trying to perfect your makeup – now you can just edit your brightness, contrast, and saturation levels with a few clicks. Who needs a beauty blender when you have a computer mouse?
And if you think photo booths are just for fun, think again. With advanced features like special effects filters and cropping capabilities, you can get as creative as you want. Want to look like a unicorn? No problem. Want to turn your face into a slice of pizza? Go ahead, we won’t judge.
To get the most out of using technology to enhance photos taken from a photo booth, it is important to consider the composition of each image before making any changes. Paying attention to elements such as lighting conditions, focal points and background detail will help create more interesting pictures. Furthermore, understanding how various post-processing techniques work will enable users to make informed decisions when editing their photographs. For example, applying sharpening or blurring filter effects can have dramatic results on an overall image quality.

The key takeaway here is that utilizing technology effectively allows photographers to maximize the potential of their photos taken in a photo booth environment; by considering composition first and then taking advantage of available editing functions afterwards they can produce engaging images that stand out from the crowd.
Editing Photos After Capturing
Once the photos are captured, there are a number of ways to edit them to make them look better. This includes adjusting colors, brightness and contrast levels, or using various filters or effects. The first step is to select the photo one wants to edit by clicking on it inside the main window. To adjust basic settings like color and lighting, open up the Adjustments button in the top right corner of the screen. This will allow users to tweak these elements until they reach their desired result.
Another way to enhance images is to use different filters or effects that come pre-loaded with the software. These can be selected from the Effects tab at the bottom of the main window and range from vintage looks to cartoonish styles. Additionally, one can also create unique custom effects by playing around with different options in this menu such as applying frames or changing distortion levels.
Conclusion
As one photographer puts it: “A great photograph isn’t just about what’s being photographed – it’s also about how it’s taken.” This means paying attention to details such as angles, light sources, backgrounds and subjects when creating memorable shots. By understanding the basics of photography through practice and experimentation with different techniques, anyone can be successful at taking beautiful photos in any setting — even in a photo booth!
